Table of Contents
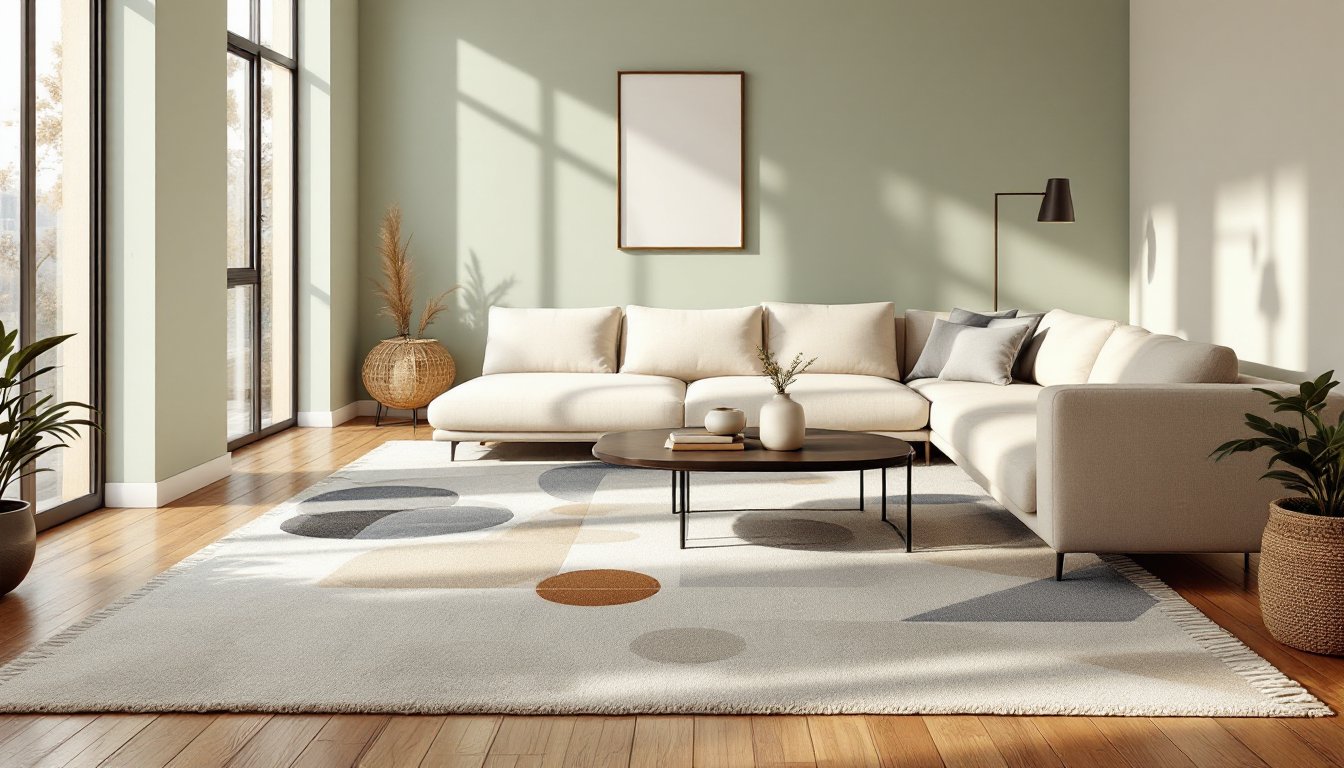
ToggleHalf wall paneling has become one of the most effective ways to add visual depth and character to a living room without a full renovation. Whether someone wants to define a space, introduce texture, or create an accent wall that catches the eye, half wall paneling delivers practical style. The best part? Many of these designs work for DIYers with basic tools and intermediate carpentry skills. From sleek modern shiplap to geometric patterns and recessed panels, today’s options go far beyond the wood-heavy looks of decades past. In 2026, half wall paneling trends lean toward mixed materials, bold geometry, and designs that play well with both minimalist and traditional décor.
Key Takeaways
- Half wall paneling adds visual depth and character to a living room without requiring a full renovation, and modern trends in 2026 favor mixed materials, bold geometry, and designs compatible with both minimalist and traditional décor.
- Popular half wall paneling ideas include modern shiplap, recessed panel designs for elegance, geometric patterns like herringbone and chevron, and paint-and-wallpaper solutions that offer faster installation for budget-conscious homeowners.
- Proper wall preparation—locating studs, filling holes, priming, and marking a level halfway point with a chalk line—is essential for professional-looking results and prevents common issues like wood warping.
- Choose materials based on your finish preference and room conditions: solid wood (pine, oak) for staining and durability, MDF for paint-grade projects at lower cost, and composites for moisture resistance.
- Most half wall paneling projects are intermediate DIY work requiring basic carpentry skills, 8–16 hours depending on design complexity, and finishing with quality paint, stain, or wallpaper for lasting appeal.
- Leave small gaps (1/16 inch) between shiplap boards and apply paintable caulk where trim meets walls to accommodate seasonal wood movement and create a polished, finished appearance.
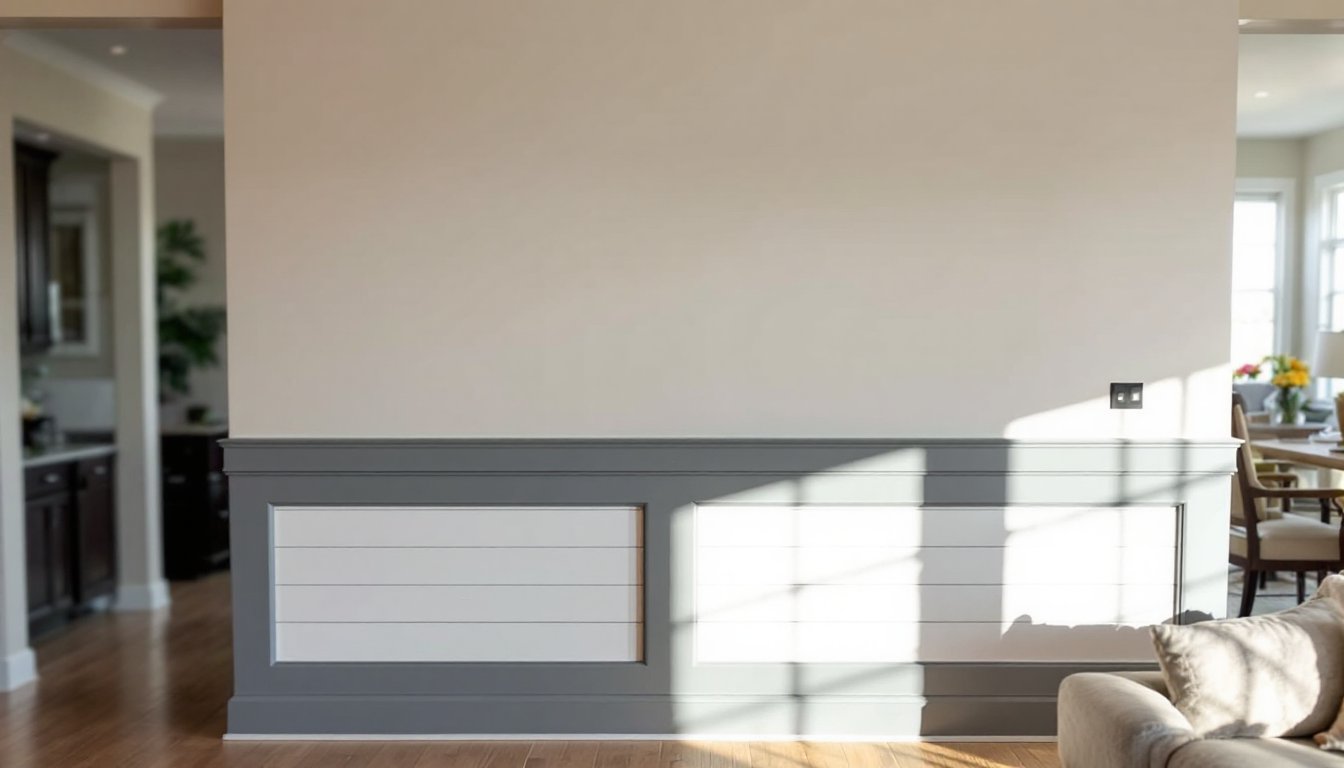
Modern Shiplap Paneling for a Contemporary Look
Shiplap, horizontal boards with interlocking edges, remains popular because it’s forgiving to install and visually appealing. For a modern half wall, aim for boards 1 by 8 inches (actual dimensions: 0.75″ × 7.25″) in white, soft gray, or natural pine stain. Paint-grade pine works well and costs less than hardwood: stain-grade options add warmth if the wall complements adjacent woodwork.
Installation basics: Snap a chalk line at your halfway point, typically 36 to 42 inches from the floor. Install a base rail (a horizontal board along the floor line) and a cap rail at the top to frame the shiplap boards. Between these rails, secure shiplap perpendicular to wall studs using 1.25-inch trim nails or a finish nailer (makes less splitting). Studs run 16 inches on center: hit them consistently for strength and to avoid drywall anchors.
Prepare the wall surface: patch holes, sand rough spots, and prime any new drywall. Shiplap shadows appear more dramatic on primed, white surfaces. If painting, use two coats of quality interior paint and allow 24 hours between coats. Most paint covers about 350 square feet per gallon: a small half wall typically needs half a gallon or less.
Common pitfall: wood expands and contracts seasonally. Leave small gaps (about 1/16 inch) between boards during installation to prevent buckling later. Shiplap often requires touch-ups of caulk and paint after 6–12 months.
Recessed Panel Designs for Timeless Elegance
Recessed panels create a raised-and-fielded or frame-and-panel effect that feels formal and anchors a living room with sophistication. This design uses a border frame (typically made from 1 by 4 or 1 by 6 boards) with a recessed field in between, either flat drywall or inset plywood panels.
Frame layout: Horizontal rails run top and bottom: vertical stiles divide the width. Spacing panels 24 to 36 inches apart keeps proportions balanced. Miter the frame corners (45-degree cuts) for a refined look, or butt-join them if a more casual approach fits the room.
For the recessed field, painters often use Sheetrock or 1/2-inch plywood, then fill, sand, and prime. Alternatively, use raised panel doors (hollow-core or solid wood) as inserts, they’re pre-made and save labor. Install them with small brad nails on the edges: fill nail holes with spackle and sand smooth.
Painting is crucial here. Traditionally, the frame is a darker shade (charcoal, navy, or rich brown) while the fields are lighter (cream, soft white, or taupe). This contrast emphasizes the geometry. Use satin or eggshell finish for light reflection and durability in a high-traffic area.
This design requires precise measurement and cuts, making it intermediate to advanced. Expect 8–12 hours for a 12-foot wall panel run, depending on complexity and drying time between coats.
Geometric Wood Patterns and Accent Features
Geometric designs, herringbone, chevron, or starburst patterns, turn a half wall into a visual focal point. These patterns work especially well with 3/4-inch solid wood strips or 1 by 2 boards ripped down to width.
Herringbone is forgiving: wood pieces alternate direction at 45-degree angles, creating a zigzag. Chevron is similar but meets at a center seam. Both patterns hide imperfections better than uniform layouts because the eye follows the motion rather than individual seams.
Setup and layout: Start with a full-scale template on kraft paper or cardboard. Transfer the pattern to the wall, marking stud locations. Use a miter saw for clean 45-degree cuts: a circular saw works but tends to splinter. Secure pieces with 1.25-inch brad nails into studs, or use construction adhesive (like Liquid Nails) plus nails for maximum hold.
Stain or paint to match or contrast with trim. Some designs reverse colors every other piece, dark and light alternating, which emphasizes geometry. Others use a single stain with metallic accents for modern flair.
This approach demands accuracy: one miscut piece throws off the whole pattern. Budget extra material (15% overage) for mistakes. Total time typically runs 12–16 hours for a 12-foot section, not counting stain and topcoat drying.
Painted and Wallpapered Half Wall Solutions
Not all half wall paneling involves actual wood. Paint and wallpaper offer faster, less labor-intensive alternatives for visual impact.
Painted designs: A bold paint color on the lower half creates a dramatic “color block” effect with trim separating upper and lower sections. Use a trim rail (a 1 by 4 or 1 by 6) as the horizontal divider. Paint below it in a jewel tone (emerald, navy, burgundy) and paint above in white or pale neutral. This works particularly well in eclectic or transitional spaces.
Wallpaper: Modern peel-and-stick wallpapers eliminate messy paste and are removable, ideal if renting or unsure. Install a trim frame, then apply wallpaper to the lower panel. Grasscloth, geometric, or subtle texture options add depth without overwhelming. Measure carefully: remove baseboards, cut wallpaper strips, and smooth out air bubbles with a plastic squeegee.
Combination approach: Paint the frame, wallpaper the field. This hybrid is popular and protects the design (wallpaper covers the recessed area: paint frames it).
Both methods require clean, smooth wall prep. Fill holes with spackle, sand smooth, and prime before painting or wallpapering. Wallpaper adhesive doesn’t stick to glossy primer, so use matte primer or remove the trim after applying base coat and reinstall afterward.
Advantage: these options are budget-friendly and low-skill. Disadvantage: paint and wallpaper show wear faster than solid wood if the wall experiences bumps, dust, or moisture.
Material Selection: Wood, MDF, and Composite Options
Solid wood (pine, oak, birch) offers durability, warmth, and stain versatility. Pine is cheapest and works well for painted finishes: oak and birch cost 30–50% more but showcase grain if stained. Solid wood also handles damage well, a dent can be sanded and refinished. Downside: it expands and contracts, requiring spacing gaps and periodic maintenance.
MDF (medium-density fiberboard) is engineered wood made from wood fibers and resin. It’s stable, paints beautifully, and costs 40–50% less than solid wood. MDF doesn’t accept stain well (it drinks stain unevenly), so plan to paint. It’s heavier than solid wood and prone to damage if dented (can’t be sanded out). MDF also absorbs moisture, so avoid damp basements or kitchens.
Composite materials (like engineered hardwood or hybrid boards) offer a middle ground: better paint finish than MDF, more stable than solid wood, and moderate cost. Some composites resist moisture better, making them safer for slightly damp rooms.
Selection tip: For a living room, solid pine or MDF for paint-grade shiplap or geometric designs works economically. For recessed panels or designs requiring stain, go with solid wood (pine or oak). If budget is tight and the finish is paint, MDF delivers professional results at lower cost.
Measure and plan material quantities carefully. Shiplap coverage: multiply wall length by height and subtract baseboards: boards cover approximately 75% due to overlaps. Panels require linear feet of frame stock plus field material. Most suppliers will cut to order, saving time.
Installation Tips and Design Considerations
Wall prep is non-negotiable. Use a stud finder to locate framing at 16-inch intervals. Mark them lightly with pencil: you’ll nail into studs, not drywall. Remove baseboards (or plan to reinstall them around the paneling). Fill holes with spackling compound, sand smooth, and prime the wall.
Layout matters. Measure and mark the halfway point using a level, not a tape measure alone, which can be inaccurate over distance. Snap a chalk line for a crisp, straight visual division. If paneling between rooms, ensure the line aligns with door frames and windows to appear intentional.
Fastening: Use trim nails (1.25″ for shiplap, 1.5″ for frames) or a pneumatic finish nailer. Pneumatic nailers drive nails flush without hammer marks and are worth renting for $20–30 per day. Hand-nailing takes longer and risks splitting wood: pre-drill if fastening near edges.
Caulk gaps: Between paneling pieces and where trim meets walls, apply paintable caulk. Caulk shrinks slightly as it dries: overfill lightly and smooth with a wet finger. This prevents dust from settling in seams and gives a finished look.
Safety: Wear safety glasses when cutting (flying dust and splinters). Use hearing protection with power saws. If cutting many boards, wear a dust mask or use a shop vacuum. Ensure good ventilation when staining or priming.
Finishing: Sand between coats of paint or stain (use 120-grit sandpaper). Two coats of quality interior paint ensures durability: stain typically requires one coat plus polyurethane topcoat for protection. Allow 24–48 hours drying before reassembling trim and baseboards.
Conclusion
Half wall paneling transforms a living room with visual interest, texture, and architectural detail that reads as intentional, not trendy. Whether choosing shiplap for simplicity, recessed panels for formality, geometric patterns for bold flair, or paint and wallpaper for speed, the key is honest prep work and accurate measurements. Pick materials that suit the room’s moisture level and the desired finish: don’t force stain on MDF or expect paint to hide poor wall prep. Most projects sit comfortably in the intermediate DIY range, taking a weekend or two with proper planning. The result is a space that feels finished and curated, and that’s worth the effort.