Table of Contents
ToggleA living room addition can transform how a household uses its home. Whether driven by a growing family, remote work needs, or simply the desire for more entertaining space, a well-planned room expansion adds both functional square footage and resale value. The key is approaching the project strategically, from site selection and design decisions to understanding permits and costs. This guide walks through the smartest ways to add a living room, helping homeowners navigate the decisions that turn a vague “we need more space” into a finished room that works for years to come.
Key Takeaways
- A living room addition ideas project can return 60-80% of its cost at resale while providing flexible space for entertainment, remote work, and daily family activities.
- Choose your addition location carefully—whether sunroom, attic conversion, basement finish, or ground-level expansion—by evaluating existing infrastructure, utility lines, setback requirements, and hiring a structural engineer if load-bearing walls are involved.
- Maintain design cohesion by matching ceiling heights, flooring materials, wall colors, and window styles to your existing home to avoid an awkward add-on appearance.
- Budget for living room additions ranges from $5,000-$15,000 for basement finishes to $30,000-$80,000+ for full ground-level builds; prioritize insulation, moisture management, and electrical safety over cosmetic upgrades.
- Secure a building permit (1-2% of project cost) to ensure code compliance on egress, ceiling height, electrical outlets, and HVAC sizing; hire licensed contractors for structural, electrical, and mechanical work to avoid safety hazards and costly mistakes.
Why Add a Living Room to Your Home
A living room addition tackles a real problem many households face: lack of dedicated gathering space. Unlike bedrooms or kitchens, which serve specific functions, a flexible living area serves multiple purposes, entertaining, children’s play, a quiet reading nook, or home office overflow. It also increases home value more reliably than many upgrades. Real estate data shows that finished living space returns 60–80% of its cost at resale, depending on market conditions and execution quality.
Beyond dollars, there’s the daily-use argument. A second living area separates noisy activities from quiet zones, reduces bottlenecks in shared spaces, and gives the home breathing room. Families working from home benefit especially: a dedicated open area provides space for video calls or focused work without interrupting household activity.
Room Location and Layout Planning
Choosing the Right Space for Expansion
The best spot for a living room addition depends on existing infrastructure and site conditions. Most homeowners consider these options: a sunroom or enclosed porch, which reuses existing foundation and exterior walls: an attic conversion, if headroom and structural load allow: a basement finish, if moisture and ceiling height permit: or a ground-level addition built onto a free side or rear wall.
Each option has trade-offs. A sunroom is fastest but may feel thermally disconnected in winter. An attic conversion avoids foundation work but requires reinforced joists (typically 2×8 or 2×10 dimensional lumber, depending on span and load) and careful insulation. A basement finish addresses the elephant in many rooms, moisture control, through proper grading, drainage, and 6-mil polyethylene vapor barriers under concrete. A true addition means new foundation work, but offers the most flexible layout and compliance with current building codes.
Measure your site carefully. Check for easements, utility lines (call 811 before digging), and setback requirements from property lines, these vary by jurisdiction and can disqualify a location entirely. If a wall is load-bearing, removing or opening it requires an engineered header and may demand a building permit and inspection. When in doubt, hire a structural engineer: the cost ($300–800) is cheap compared to settling cracks or sagging drywall.
Design and Aesthetic Options
Matching Your Existing Home Style
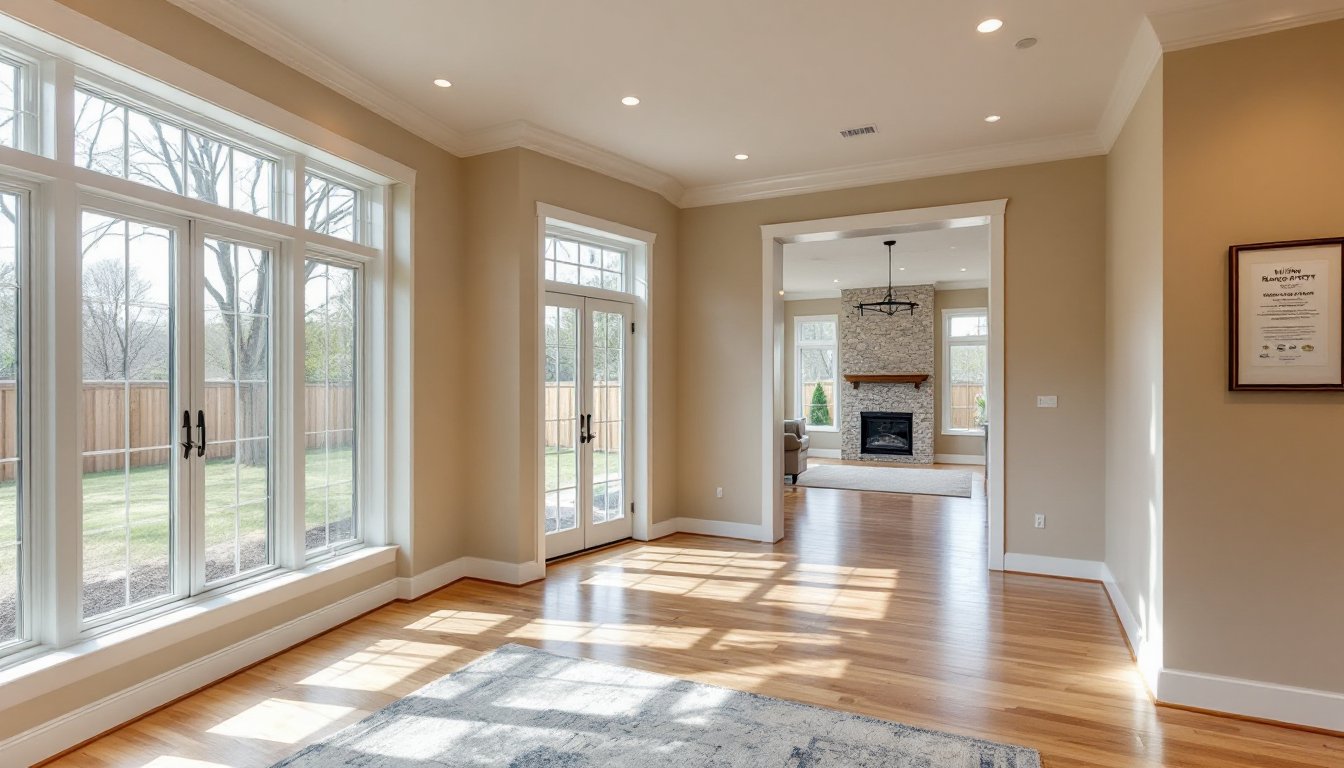
A living room addition should feel intentional, not like a mismatched afterthought. The simplest approach is flow and sight lines, ensure doorways, flooring transitions, and ceiling heights align with adjoining spaces. If your main living room has 9-foot ceilings, don’t finish the addition with 8-foot ones: the step down reads as cheap even if unintentional.
Material continuity matters. If the existing home features hardwood floors, extend them into the addition or transition seamlessly via transition strips or a color-matched engineered wood or laminate. Wall color should either match or use a complementary shade, a jarring contrast signals an add-on rather than a planned expansion. Paint brand and sheen consistency (e.g., eggshell throughout) reinforces cohesion.
Windows deserve thought. Large windows flood the space with light and connect it visually to the outdoors, but they cost more and complicate insulation and wall framing. Low-emissivity (Low-E) windows cost 15–25% more than standard double-pane but reduce heating and cooling loss significantly. If adding a sunroom, glazing is the dominant feature: for other additions, one or two well-placed windows often suffice. Consider existing window styles, if your home has craftsman-style divided-light windows, match that aesthetic.
Budget-Friendly vs. Premium Addition Approaches
Living room addition costs span a massive range: $5,000–$15,000 for a DIY-friendly basement finish with existing ceiling and walls, to $30,000–$80,000+ for a full ground-level addition with new foundation, framing, roof, HVAC extension, and electrical.
For a budget-conscious approach, prioritize structural and mechanical completeness, then defer cosmetics. A finished basement with basic drywall, primer, and flat latex paint saves thousands versus custom textures or premium finishes. Buy standard hollow-core or solid-core interior doors ($80–150 each) rather than premium options. Lighting can run basic: recessed cans and a standard ceiling fan deliver function without flair.
Where not to cheap out: insulation (skip it and heating/cooling costs balloon): moisture management (a wet addition is a failed addition): and electrical load calculations (undersized wiring and breakers create fire and safety hazards). An HVAC professional should size ductwork and adjust your system: amateur ductwork leaks condition and money.
Premium approaches add character through custom built-ins, hardwood floors, LED accent lighting, high-end fixtures, and specialty wall finishes (shiplap, wainscoting, tile accents). These layers cost $10,000–$30,000 extra but create a cohesive, designed feel. The trade-off is complexity and timeline: custom work takes longer and demands careful coordination between trades.
Permits, Building Codes, and Professional Guidance
Nearly every living room addition requires a building permit, especially if it involves structural changes, new foundation, or HVAC/electrical modifications. Permit costs run 1–2% of project cost but ensure inspections at framing, mechanical, and final stages. These inspections catch mistakes early, loose electrical connections, inadequate support, or improper insulation, before they become expensive problems.
Building codes vary by jurisdiction, but most follow the International Residential Code (IRC) or similar local standards. Key compliance points:
- Egress: A living room must have a minimum 3-foot-wide door to the rest of the home and, if it has sleeping potential, a window or door at least 5 feet 7 inches tall and 5.7 square feet for emergency exit (codes differ, check yours).
- Ceiling height: Most codes require 7 feet 6 inches minimum in habitable rooms: basements often allow 7 feet at centerline.
- Electrical: Outlets every 6 feet along walls, GFCI protection near water sources, and proper grounding are non-negotiable. The National Electrical Code (NEC) governs this: hire a licensed electrician.
- HVAC: The addition must be served by your existing system (usually adequate) or a supplemental unit. Ductwork sizing, insulation (R-8 minimum), and pressure balancing prevent hot/cold spots.
When to hire a pro: structural framing, electrical, HVAC, plumbing, and foundation work almost always require licensed contractors. Drywall, painting, and trim finishing are DIY-friendly if you’re patient. Get multiple quotes, check references, and verify licenses and insurance before signing. A contractor who skips permit discussion is a red flag.