Table of Contents
ToggleWall sconces are one of the most underutilized tools in home lighting design. Too many homeowners rely solely on overhead fixtures, missing the opportunity to layer light in ways that flatter the room and set the mood. Living room sconces serve dual purposes, they’re functional task lighting for reading or ambient illumination, and they’re honest-to-goodness design elements that anchor a wall or bookshelf. Whether someone’s building a minimalist retreat, a cozy farmhouse vibe, or something bold and unexpected, the right sconce transforms how a living room feels. This guide walks through five distinct sconce styles, explains the science behind uplighting and downlighting, and covers placement strategies that actually work.
Key Takeaways
- Living room sconce ideas extend beyond task lighting—they’re design elements that layer light to flatter a room and set mood through uplighting and downlighting techniques.
- Modern minimalist, classic, industrial, and statement sconces each offer distinct aesthetics; choose based on your room’s style and pair with appropriate brightness levels (60–150 watts equivalent depending on fixture type).
- Optimal mounting height for wall sconces is 60–66 inches from the floor, with spacing of 24–36 inches from a central focal point or 36–48 inches between gallery wall fixtures for visual rhythm.
- Combining uplight sconces for ambient fill and downlight sconces for task-oriented lighting creates layered illumination that requires independent circuits and dimmer switches for maximum flexibility.
- Proper electrical installation during construction is essential—run 14 or 12-gauge Romex cable depending on circuit capacity, locate studs before cutting holes, and consult local codes for junction box requirements.
- Statement sconces in bold colors or sculptural shapes work best in visually calm spaces with neutral palettes; mount them off-center at 60–66 inches high to avoid competing with artwork or sightlines.
Modern Minimalist Sconces For Contemporary Spaces
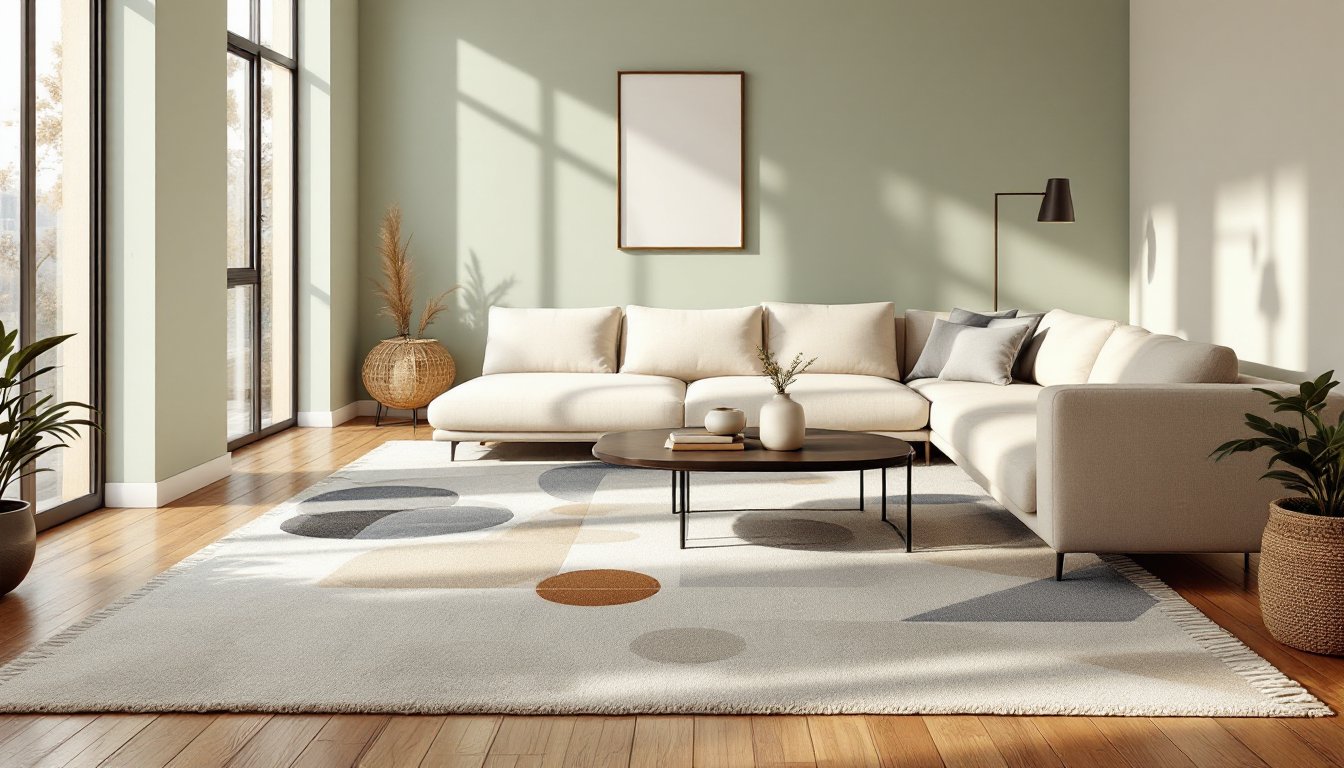
Modern minimalist sconces strip away ornament and lean hard into clean lines, simple geometry, and restrained finishes. Think matte black or brushed brass fixtures with minimal visible hardware and shades that diffuse light evenly without fuss.
These sconces work best paired with neutral wall colors and work particularly well flanking a sofa or as symmetrical pairs on either side of a fireplace. A cylindrical brass sconce or flat rectangular wall-mounted fixture with a frosted glass or linen shade keeps sightlines uncluttered while delivering warm ambient light. Because minimalist design prizes restraint, scale matters, avoid oversized fixtures that visually compete with the room.
When installing minimalist sconces, plan for approximately 60–75 watts equivalent LED output per fixture (roughly 800–1000 lumens). This provides enough light to read without harshness. Wire sconces during the rough-in stage if possible, running electrical from existing wall outlets or ceiling boxes. If that’s not an option, plug-in sconces with fabric cord covers work fine and require no electrician.
Wood, leather, and concrete textures pair beautifully with modern minimalist lighting. A sconce with a simple metal bracket and a fabric shade in cream or soft gray complements these materials while adding visual interest without clashing.
Classic And Timeless Wall Sconce Designs
Classic sconces draw from traditional and transitional design language, think curved brass arms, frosted or clear glass shades, and a touch of ornamentation that doesn’t feel overdone. These fixtures work in virtually any living room and age gracefully.
A traditional two-light sconce with an arched arm and milk glass or etched shade is a reliable choice that suits both period homes and modern rooms seeking warmth. Finishes like polished brass, oil-rubbed bronze, or satin nickel coordinate with most hardware and trim. Pair these beside a fireplace, above a sideboard, or flanking built-in shelving.
Classic sconces typically range from 100–150 watts equivalent (1200–1500 lumens combined for a two-light fixture), providing ample illumination for evening activities. Installation follows standard electrical practice: cut a hole in the drywall where the electrical box will sit, run wire from a nearby circuit, and secure the mounting bracket. If existing electrical isn’t nearby, a licensed electrician can extend the circuit, worth the cost to avoid extension cords.
These fixtures work best when spaced 48–60 inches apart on a wall or 24–30 inches from a central focal point like a mirror or artwork. Heights vary, but mounting the center of the fixture at 62–66 inches from the floor suits most ceiling heights and proportions.
Industrial and Farmhouse Sconce Styles
Industrial and farmhouse sconces share a love of exposed materials, metal cages, Edison-style bulbs, barn-door fixtures, and vintage-inspired hardware. These styles celebrate imperfection and handmade character, making them ideal for spaces with exposed brick, shiplap, or reclaimed wood accents.
Industrial sconces often feature black or rusty metal with cage details, vintage-style filament bulbs, and minimal diffusion. Farmhouse versions tend softer, cream-painted metal, frosted glass, or linen shades that feel lived-in rather than shiny. Both work as single fixtures or in pairs, and both pair beautifully with warm 2700K color temperature bulbs that emphasize the vintage aesthetic.
These fixtures tolerate less-than-perfect walls, which makes them forgiving for older homes or rooms where paint isn’t pristine. Mount them 60–66 inches from the floor, either flanking a fireplace, above console tables, or along a gallery wall. Spacing of 36–48 inches between fixtures maintains visual rhythm without crowding.
Wattage can vary: single-light industrial sconces work well at 40–60 watts equivalent, while farmhouse styles with multiple shades might reach 100–150 watts equivalent. Because the style celebrates visible bulbs, choose warm white dimmable LED bulbs that mimic incandescent glow and allow mood adjustment. Wire these sconces during construction if possible: if retrofitting into an existing wall, running flex conduit up from an outlet near the baseboard keeps the installation neat.
Ambient Lighting With Uplight and Downlight Sconces
Uplight and downlight sconces work fundamentally differently, and understanding the distinction changes how a room feels.
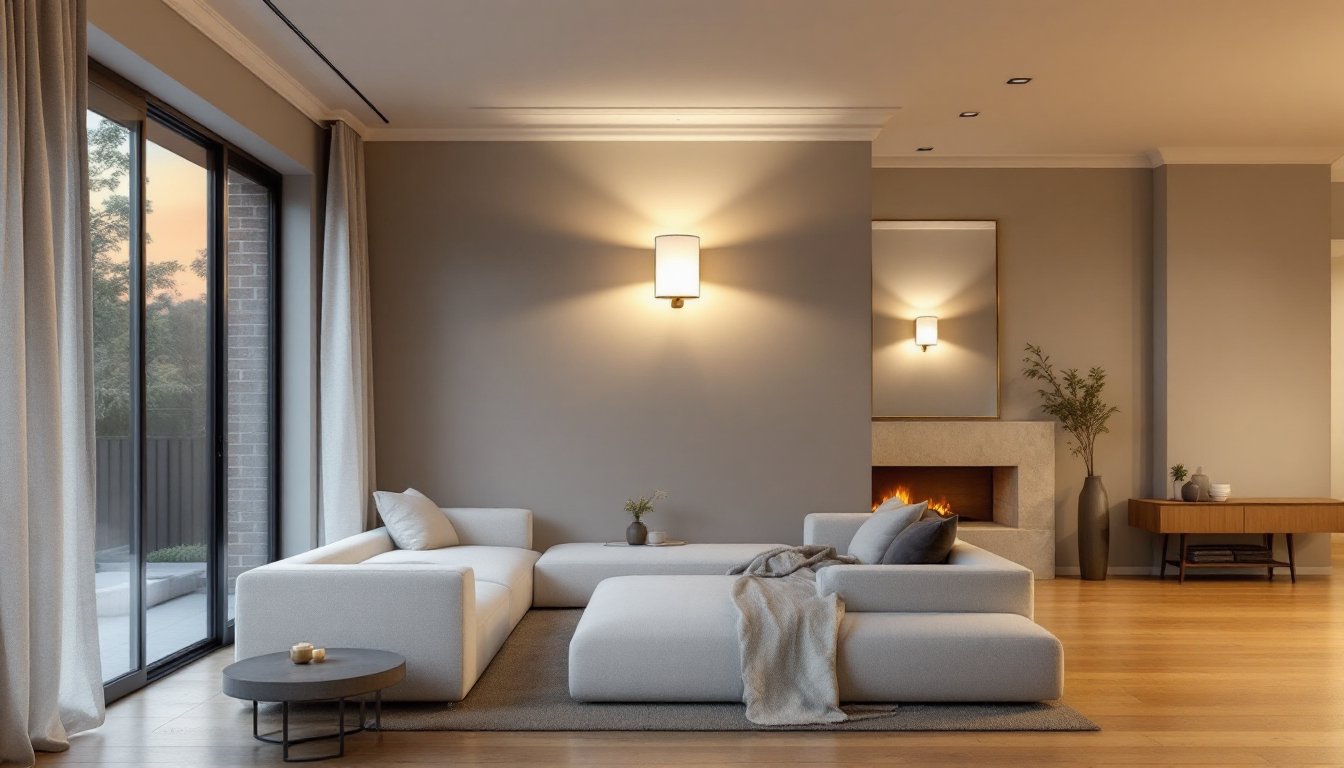
Downlight sconces direct illumination toward surfaces below, a desk, reading chair, or floor. These are task-oriented and create pools of light for focused activities. Uplight sconces bounce light off the ceiling and walls, creating soft ambient fill that flatters faces and reduces harsh shadows. The best living rooms use both: downlights for functional zones and uplights for overall ambiance.
For ambient lighting alone, an uplight sconce with an open top and frosted diffuser works beautifully. Light bounces off the ceiling (ideally painted a light color) and fills the room evenly. These suit gallery walls or arrangements of artwork where you want light without directing it at a specific piece.
Task-oriented downlights suit reading nooks or spaces flanking a sofa. A swing-arm sconce with a downward-facing shade offers flexible positioning, pull the arm out for direct reading light, swing it back for ambient contribution. These fixtures are a game-changer for apartments or rented spaces because they’re easily installed and removed.
Combining both types creates layers: uplights provide base illumination (aim for 500–750 lumens per fixture), while downlights add concentrated task light where needed (300–500 lumens). Dimmer switches should be installed for both, allowing adjustment throughout the day and evening. This layering approach requires planning during electrical rough-in, run separate circuits for uplight and downlight sconces so they’re independently controlled.
Statement Sconces: Bold Colors and Unique Shapes
Not every sconce needs to blend in. Statement sconces in bold colors, sculptural shapes, or unusual materials make a living room feel intentional and curated. These work best in rooms with enough visual calm elsewhere, a neutral palette, simple furniture, or uncluttered walls that give the fixture room to breathe.
Warm-toned metals like mustard brass, copper, or warm bronze read as bold without feeling aggressive. Ceramic, hand-blown glass, or powder-coated finishes in jewel tones, deep teal, forest green, midnight blue, create personality. Asymmetrical shapes or unexpected curves add intrigue without kitsch.
Mount statement sconces off-center, at the end of a sofa, above a console, or as a focal point on an accent wall. Avoid rigid symmetry: a single sculptural sconce feels more deliberate than a matched pair. Aim for heights between 60–66 inches from the floor and ensure the fixture doesn’t interfere with sightlines to artwork or seating.
Because these fixtures often prioritize design over maximum output, wattage may be lower, 40–80 watts equivalent. That’s fine for ambient contribution: pair them with dimmers and consider additional task lighting elsewhere in the room. Installation remains standard electrical work: mount box, run wire, secure bracket. Choose fixtures UL-listed for wet locations if the living room connects to a kitchen or bathroom where steam or moisture travels.
Practical Placement Tips For Maximum Impact
Sconce placement follows a few reliable rules. Mounting height is the first: 60–66 inches from the floor centers the fixture in the upper half of a wall, proportional to most ceiling heights and sightlines. Too low and the sconce feels cramped: too high and light doesn’t reach functional areas.
For spacing, measure from the center of one fixture to the center of the next. Pairs flanking a fireplace, mirror, or sofa back should sit 24–36 inches from that centerline (48–72 inches apart total). Sconces along a gallery wall work best at 36–48 inch intervals. Closer spacing creates visual density: wider spacing feels more open.
Wall prep is essential. Locate studs with a stud finder before cutting any holes, most electrical boxes mount to studs for stability. Mark the studs with a pencil, then mark your sconce centers. Use a drywall saw to cut boxes cleanly: tape the drywall first to prevent tearout. If studs don’t align with desired placement, retrofit boxes with adjustable mounting brackets that bridge between studs.
For electrical, turn off power at the breaker before doing any work. Run 14-gauge Romex cable (for 15-amp circuits) or 12-gauge (for 20-amp circuits) from an existing outlet, switch, or ceiling box. Use wire staples every 16 inches and keep the cable at least 1.25 inches from the drywall edge to prevent punctures. Junction boxes require inspection in most jurisdictions, check local codes.
Consider controls: dimmers add flexibility and are worth the upfront cost. Install dimmers on uplight sconces for mood adjustment and on task sconces for functionality. Smart switches allow remote control and scheduling, useful if sconces are in hard-to-reach places. Install all electrical work during framing if possible: retrofitting is messy and expensive.
Conclusion
Living room sconces are honest investments in comfort and design. Whether a homeowner chooses modern minimalist restraint, classic warmth, industrial character, or statement-making color, the key is intentional placement, proper electrical installation, and layered lighting that serves both function and mood. Start with a clear vision, measure twice, and plan electrical runs before cutting drywall. A well-placed sconce elevates an entire room.