Table of Contents
ToggleWall panelling isn’t just for Victorian mansions anymore. Today’s homeowners are using panelling to add depth, character, and visual interest to living rooms without a full renovation. Whether it’s shiplap, 3D textured panels, or stained wood, the right panelling choice can anchor a room, hide wall imperfections, and set the tone for the entire space. The best part? Many panelling projects are doable for a confident DIYer, though some require a bit of planning and the right tools. Let’s explore modern living room panelling ideas that work for different budgets, styles, and skill levels.
Key Takeaways
- Living room panelling ideas range from budget-friendly shiplap to high-end hardwood, offering solutions for different styles, budgets, and DIY skill levels.
- Panelling covers wall imperfections, adds texture and dimension to spaces, and provides better durability in high-traffic areas compared to paint alone.
- Shiplap and beadboard are the most forgiving panelling options for DIYers, with horizontal installation making rooms feel wider and vertical emphasizing height.
- Proper wall preparation, including leveling, priming with quality bonding primer, and allowing wood to acclimate for 2 weeks, is critical to achieving professional results.
- Combining panelling with complementary treatments like wallpaper, chair rails, or gallery wall displays creates visual interest without overwhelming the room.
- Starting with a single accent wall is the ideal approach to test your skills and build confidence before expanding living room panelling projects throughout your space.
Why Wall Panelling Is a Game-Changer for Your Living Room
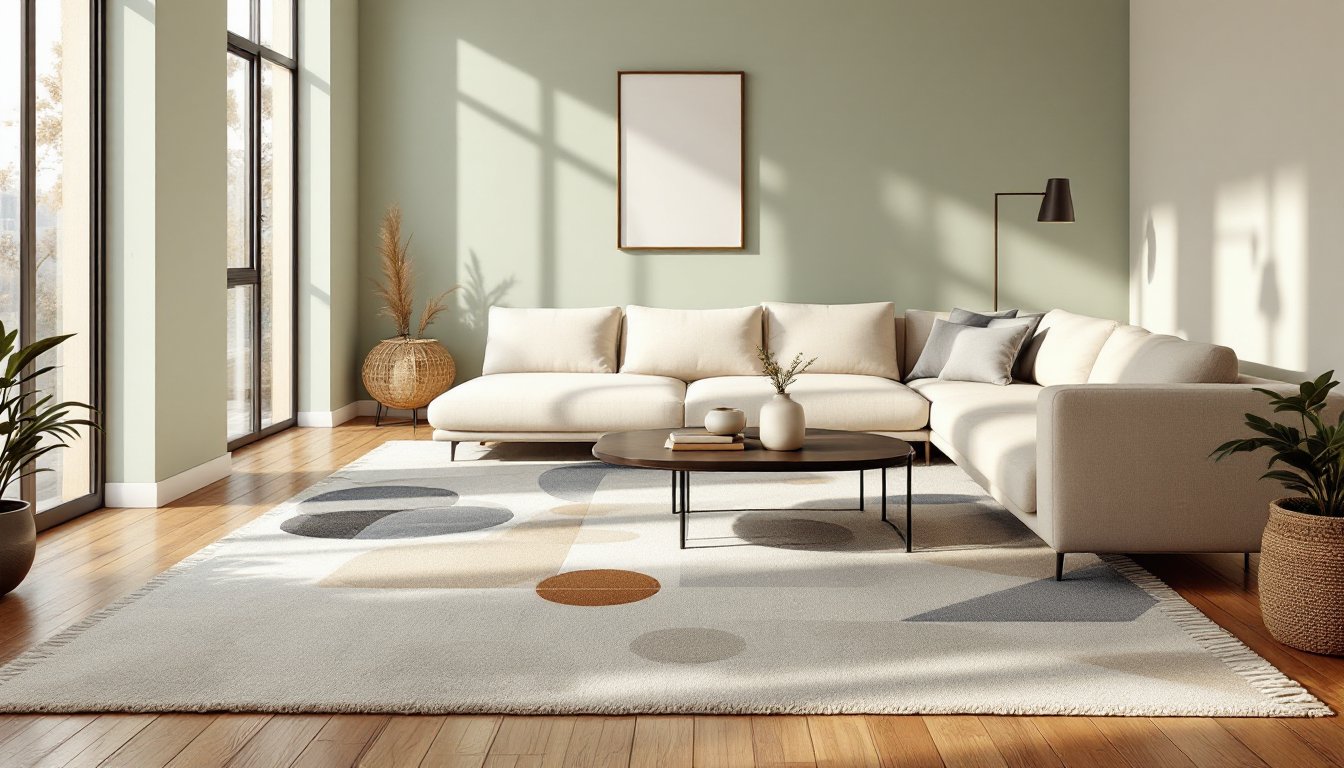
Panelling does more than sit on your wall, it transforms the geometry of a space. It adds texture, can reduce echo in rooms with hard floors, and creates a focal point that draws the eye. Unlike paint alone, panelling gives dimension: unlike drywall, it covers imperfections and provides insulation value if installed correctly.
From a practical standpoint, panelling is forgiving. Old plaster cracks, wall damage, or slightly uneven drywall? Panelling covers it all. It also holds up better in high-traffic areas than paint, especially if you choose durable materials like MDF or real wood. The trade-off: installation requires precision, patience, and proper prep work. Rush the layout or skip the primer, and your beautiful panelling job will look sloppy.
Classic Shiplap and Beadboard Panelling
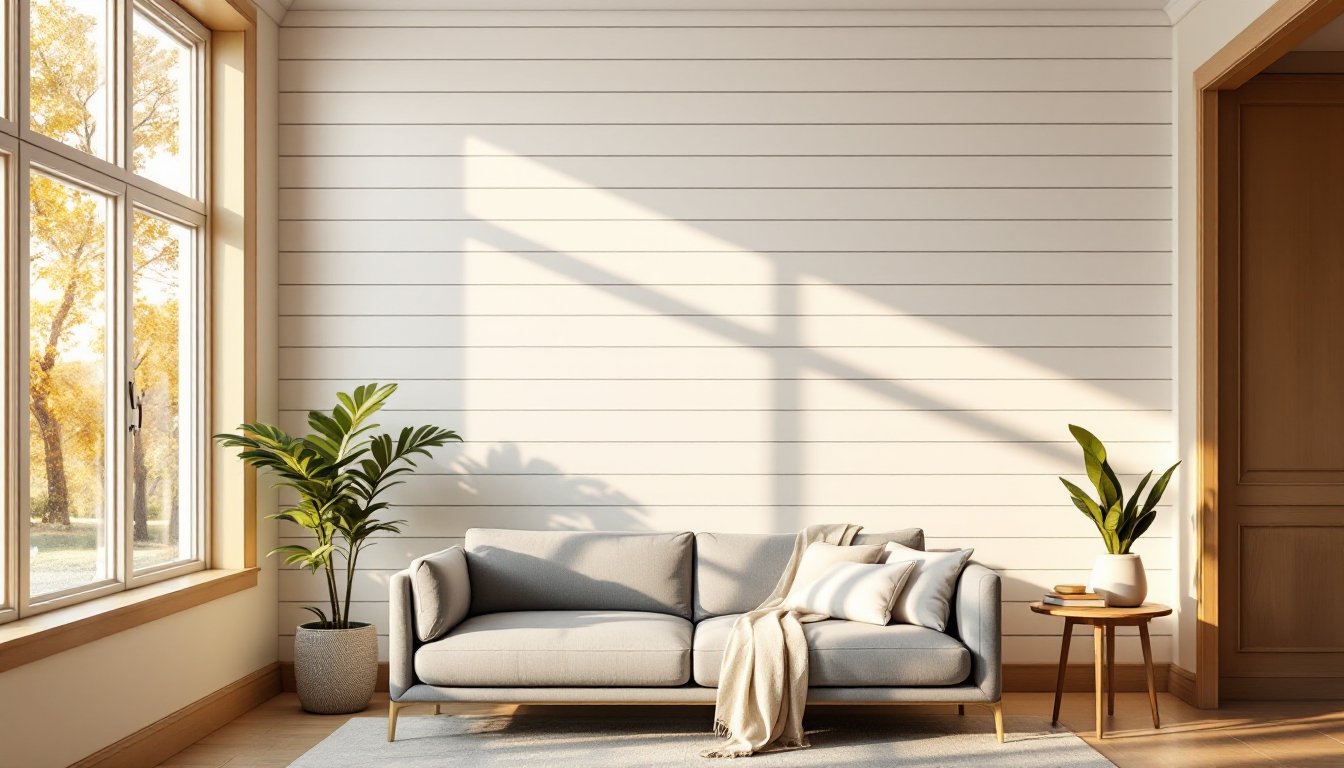
Shiplap and beadboard remain the most popular DIY panelling choices because they’re forgiving and visually distinctive. Shiplap is tongue-and-groove lumber with a slight rabbet cut on the back, creating shadow lines where boards overlap. Beadboard is similar but features a small rounded groove (the bead) running down the center of each board, giving a more formal, cottage-like feel.
Both come in pine, spruce, or engineered versions (MDF with a veneer). Real wood costs more but ages beautifully and takes stain well. MDF versions are cheaper, stable, and paint-ready, ideal if you plan solid colors.
Installation is straightforward: stud-find your walls, snap chalk lines for level, then nail or brad nail boards horizontally or vertically. Horizontal shiplap makes rooms feel wider: vertical emphasizes height. Start with a moisture barrier or vapor guard, especially in basements, to prevent rot. Sand rough edges, fill nail holes, prime, and paint. Most homeowners can handle a 12-by-15-foot wall in a weekend, though patching around outlets and corners takes time.
Contemporary 3D Wall Panels and Textured Designs
If you want panelling that reads as modern art, 3D wall panels deliver instant drama. These interlocking or individual panels create geometric shadows and depth without traditional horizontal lines. Materials range from lightweight PVC (easy to install, plastic look) to molded gypsum (higher-end appearance, heavier) to polyurethane (realistic textures, mid-range cost).
These panels work best as accent walls rather than full coverage. A single wall of geometric 3D panels behind a sofa draws focus without overwhelming the room. Installation varies by type, some glue to drywall, others require a furring frame. PVC and polyurethane can be cut with a fine-tooth saw or utility knife, making customization simple.
The catch: 3D panels can trap dust and are harder to clean than smooth surfaces. They also show imperfect drywall behind them, so proper wall prep, sanding, filling, and leveling, is critical. Budget 20-40 hours for a 12-by-12-foot wall depending on pattern complexity.
Elegant Wood Panelling for Timeless Appeal
Solid wood panelling, think walnut, oak, or cherry, signals quality and age-old craftsmanship. Full-height panelling (wainscoting up to a rail, then plaster above) is traditional: modern interpretations often go floor-to-ceiling on one wall or use wide boards (8-12 inches) in a modern stain like espresso or weathered gray.
Hardwood panelling requires dry storage before installation (acclimate for 2 weeks in the room so moisture content stabilizes) and careful stud-finding. Boards are face-nailed or pocket-screwed into studs, then finished with stain and polyurethane. The material cost is high ($4-12 per board foot, plus finishing supplies), but the longevity is decades.
This is a project where hiring a professional carpenter often makes sense, especially for high-visibility spaces. If you DIY, invest in a quality miter saw for clean angle cuts where boards meet corners, and don’t skimp on surface preparation. Sand, stain, cure (typically 48 hours), then seal. Rushing the cure leads to uneven color and finish failure.
Painted Panelling: Bold Colors and Neutral Tones
Painted panelling is the quickest way to refresh a room. Unlike stained wood, you’re not chasing grain variation or hiding imperfections in the wood itself, paint covers and conceals. This makes engineered shiplap or MDF a smart, budget-friendly choice ($1-3 per board foot versus $4+ for hardwood).
Color transforms mood dramatically. Soft whites and creams make small rooms feel spacious. Deep greens, charcoal, or navy create cozy retreats. A pro tip: prime all surfaces with bonding primer before painting. Cheap primer fails: good primer ($25-40 per gallon) sticks to any surface and reduces paint streaking. Use satin or semi-gloss paint, it’s easier to clean than flat and resists scuffs better in a high-traffic room.
Two-tone panelling (say, navy wainscoting with white above) adds sophistication. Measure precisely where your rail will sit (typically 36-42 inches from the floor), paint below one color, above another. The horizontal line should be level: use a laser level, not eyeballing. Plan for 2-3 coats: primer, first paint coat, second coat.
Mixing Panelling With Other Wall Treatments
Panelling doesn’t have to cover the whole wall. Layering it with wallpaper, stencils, or exposed brick creates visual interest without monotony. A common strategy: shiplap or beadboard on the lower two-thirds, then wallpaper or paint above, separated by a chair rail (a horizontal trim piece at about 36-40 inches).
Another approach: frame a gallery wall of art or family photos within the panelled surface, using the panelling as a textured backdrop. This works especially well with white or light-painted shiplap, the neutral field lets your displays breathe.
You can also combine material types: wood panelling on one wall, 3D panels on an adjacent wall, painted trim elsewhere. The key is intentionality. A room with seven different finishes looks chaotic: a room with panelling, trim, and one secondary texture feels curated. Sketch your layout, live with the idea for a week, then commit.
Choosing the Right Panelling for Your Space
Start with your room’s bones: ceiling height, natural light, furniture scale, and existing color. Tall ceilings handle full-height panelling: low ceilings (under 8 feet) pair better with wainscoting or partial panelling. Dark-stained panelling absorbs light: if your living room faces north or lacks windows, consider lighter finishes or 3D panels that bounce light.
Budget matters. MDF shiplap primed and ready to paint: ~$2-3 per foot. Real wood: ~$6-12 per foot. Labor (if hired): $1,500-4,000 for a living room accent wall, depending on complexity and your region. DIY labor is free, but factor in tools: miter saw, brad nailer, level, stud finder. If you don’t own these, rental is $20-50 per day.
Measure twice, install once. A single wall is a good starter project. If success, expand. Rushing or eyeballing leads to uneven lines that bug you forever. Take time with layout, snap chalk lines, and don’t skip primer or prep, the 10 extra hours of prep prevents 50 hours of regret later.
Final Thoughts: Panelling as Your DIY Sweet Spot
Living room panelling sits at the intersection of impact and accessibility. It’s ambitious enough to feel like a real transformation but achievable for someone with basic tools and patience. Whether you choose shiplap, 3D panels, or solid wood, the fundamentals are the same: measure, prep the wall, level your first line, and install methodically. Paint or stain, then enjoy a room that suddenly feels intentional and sophisticated. Start small, one accent wall, and let success guide your next project.